Why Choose Jekyll and GitHub Pages for Your First Static Site
If you’ve ever wanted to build a fast, simple website without the hassle of server configuration, Jekyll with GitHub Pages is an ideal solution. It's perfect for developers, bloggers, documentation creators, or anyone looking to establish a lightweight web presence. The combination of Jekyll and GitHub Pages offers a powerful static site generator with free and easy deployment.
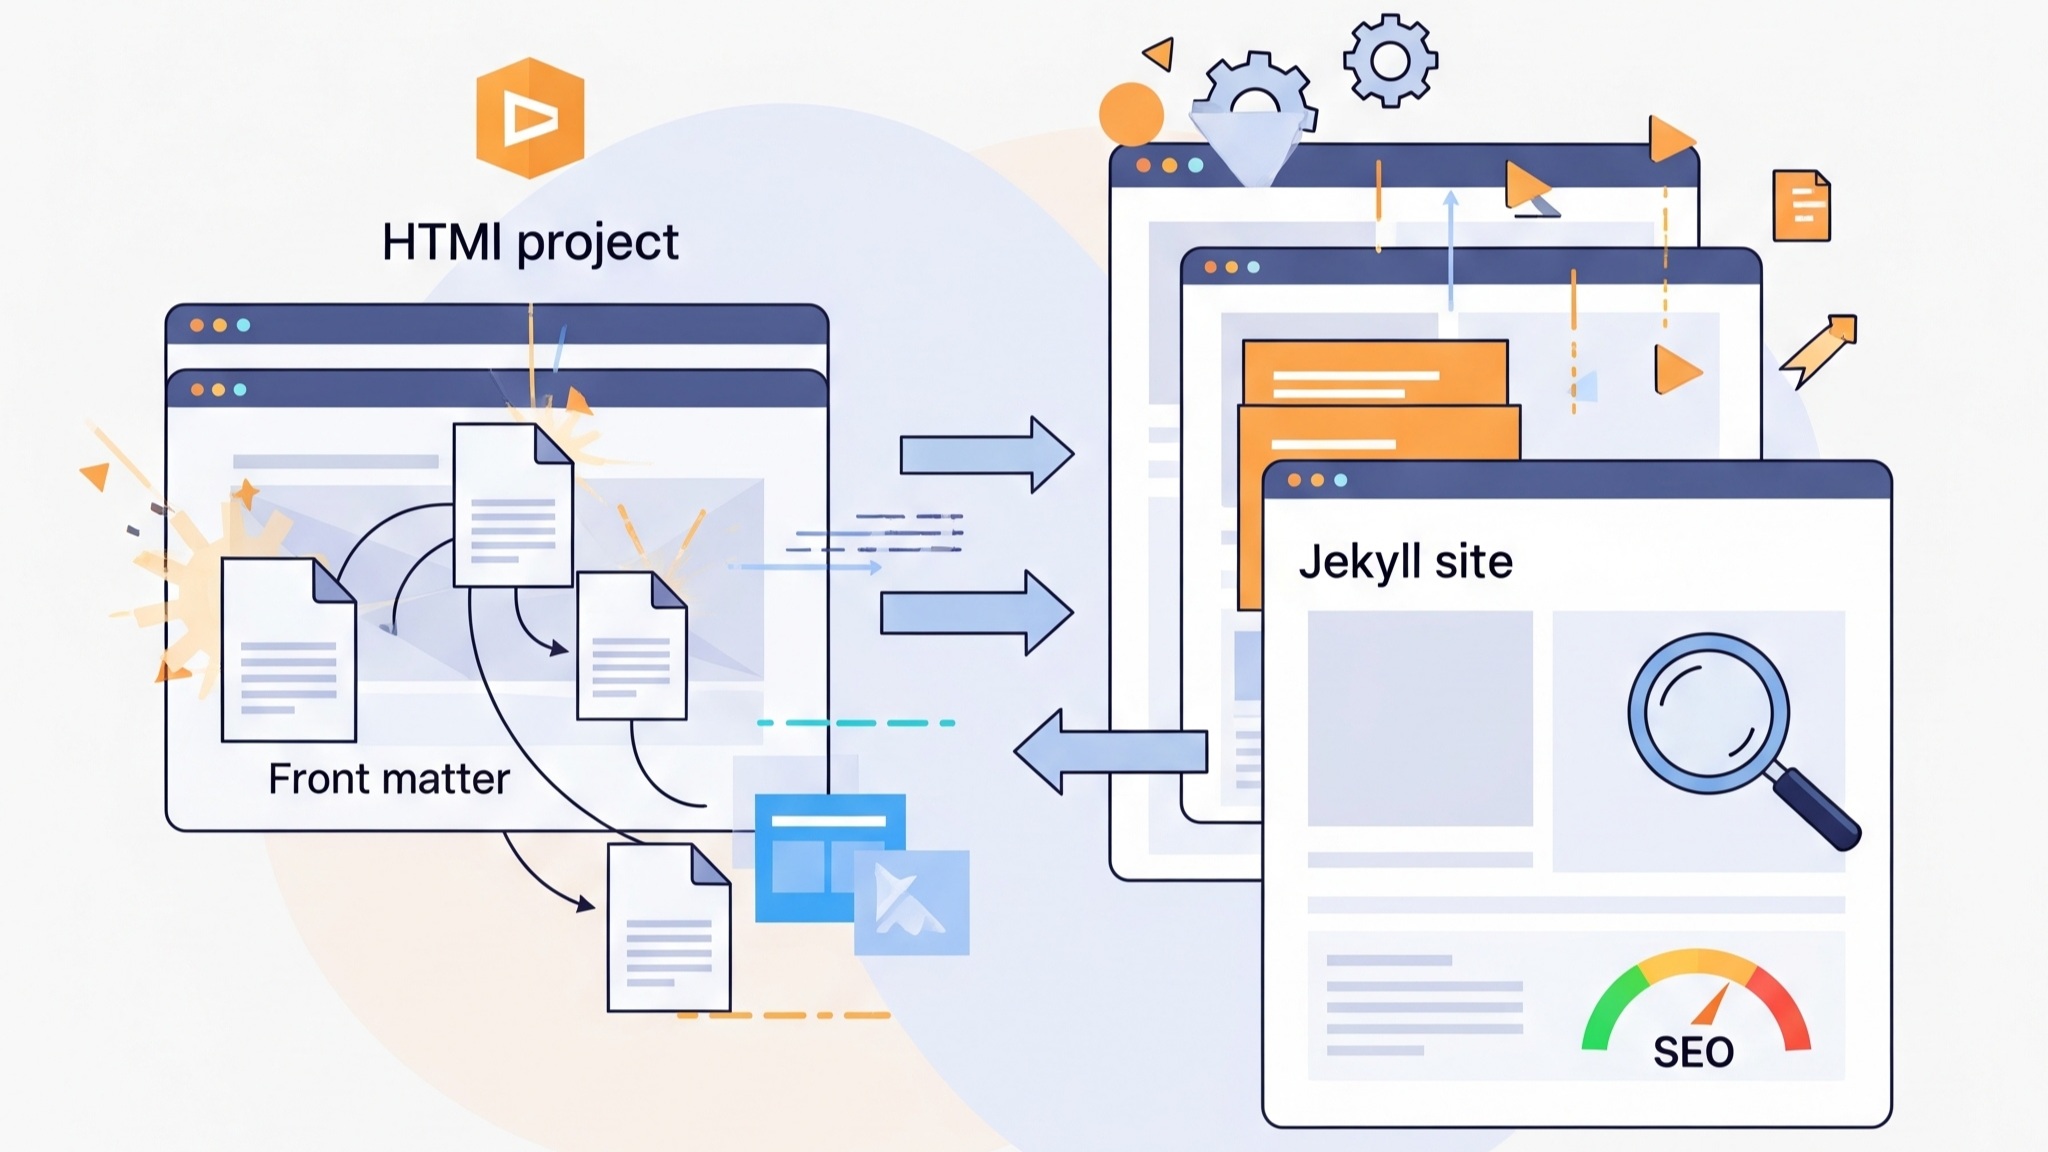
What Makes Jekyll a Great Static Site Generator
Jekyll is open-source, flexible, and integrates natively with GitHub Pages. It converts plain text written in Markdown into static HTML pages that load blazingly fast. Since there is no backend database, Jekyll sites are secure and low-maintenance, making them ideal for portfolios, blogs, knowledge bases, and more.
Benefits of Hosting on GitHub Pages
- Free hosting: GitHub Pages allows unlimited public repositories with free hosting.
- Built-in version control: GitHub manages the source history of your site automatically.
- Custom domain support: You can use your own domain for branding.
- Continuous deployment: Any push to your repository can automatically update your site.
What Do You Need to Start Building a Jekyll Site
Before creating your site, you need to have a few tools and accounts ready. Here’s a checklist:
Essential Requirements
- A free GitHub account
gitinstalled on your systemRubyandBundlerinstalled (Jekyll is built on Ruby)- A code editor like VS Code
Optional but Helpful
- Basic knowledge of Markdown and HTML
- Terminal or command line familiarity
How to Install Jekyll Locally on Your Machine
To build and preview your site before publishing, you'll want to run Jekyll locally. Here's how to install it on your system:
Install Ruby and Bundler
For macOS, you can use Homebrew:
brew install ruby
gem install --user-install bundler
On Ubuntu or Debian:
sudo apt install ruby-full build-essential zlib1g-dev
gem install bundler
Install Jekyll Using Bundler
Jekyll should be installed via Bundler to manage dependencies safely:
gem install jekyll
jekyll -v
How to Create a New Jekyll Project from Scratch
Now that everything is set up, it’s time to generate your site locally.
Step-by-Step Guide
jekyll new my-first-site
cd my-first-site
bundle install
bundle exec jekyll serve
This will create a scaffolded Jekyll site with folders like _posts, _layouts, and _includes. Visit http://localhost:4000 in your browser to preview it.
What Files Make Up a Basic Jekyll Project
Understanding the structure helps you customize your site more effectively.
| Folder/File | Purpose |
|---|---|
_config.yml |
Configuration file for your site |
_posts/ |
Your blog articles with date-based filenames |
_layouts/ |
Reusable templates for pages |
index.md |
Homepage in Markdown format |
_includes/ |
Reusable snippets (headers, footers) |
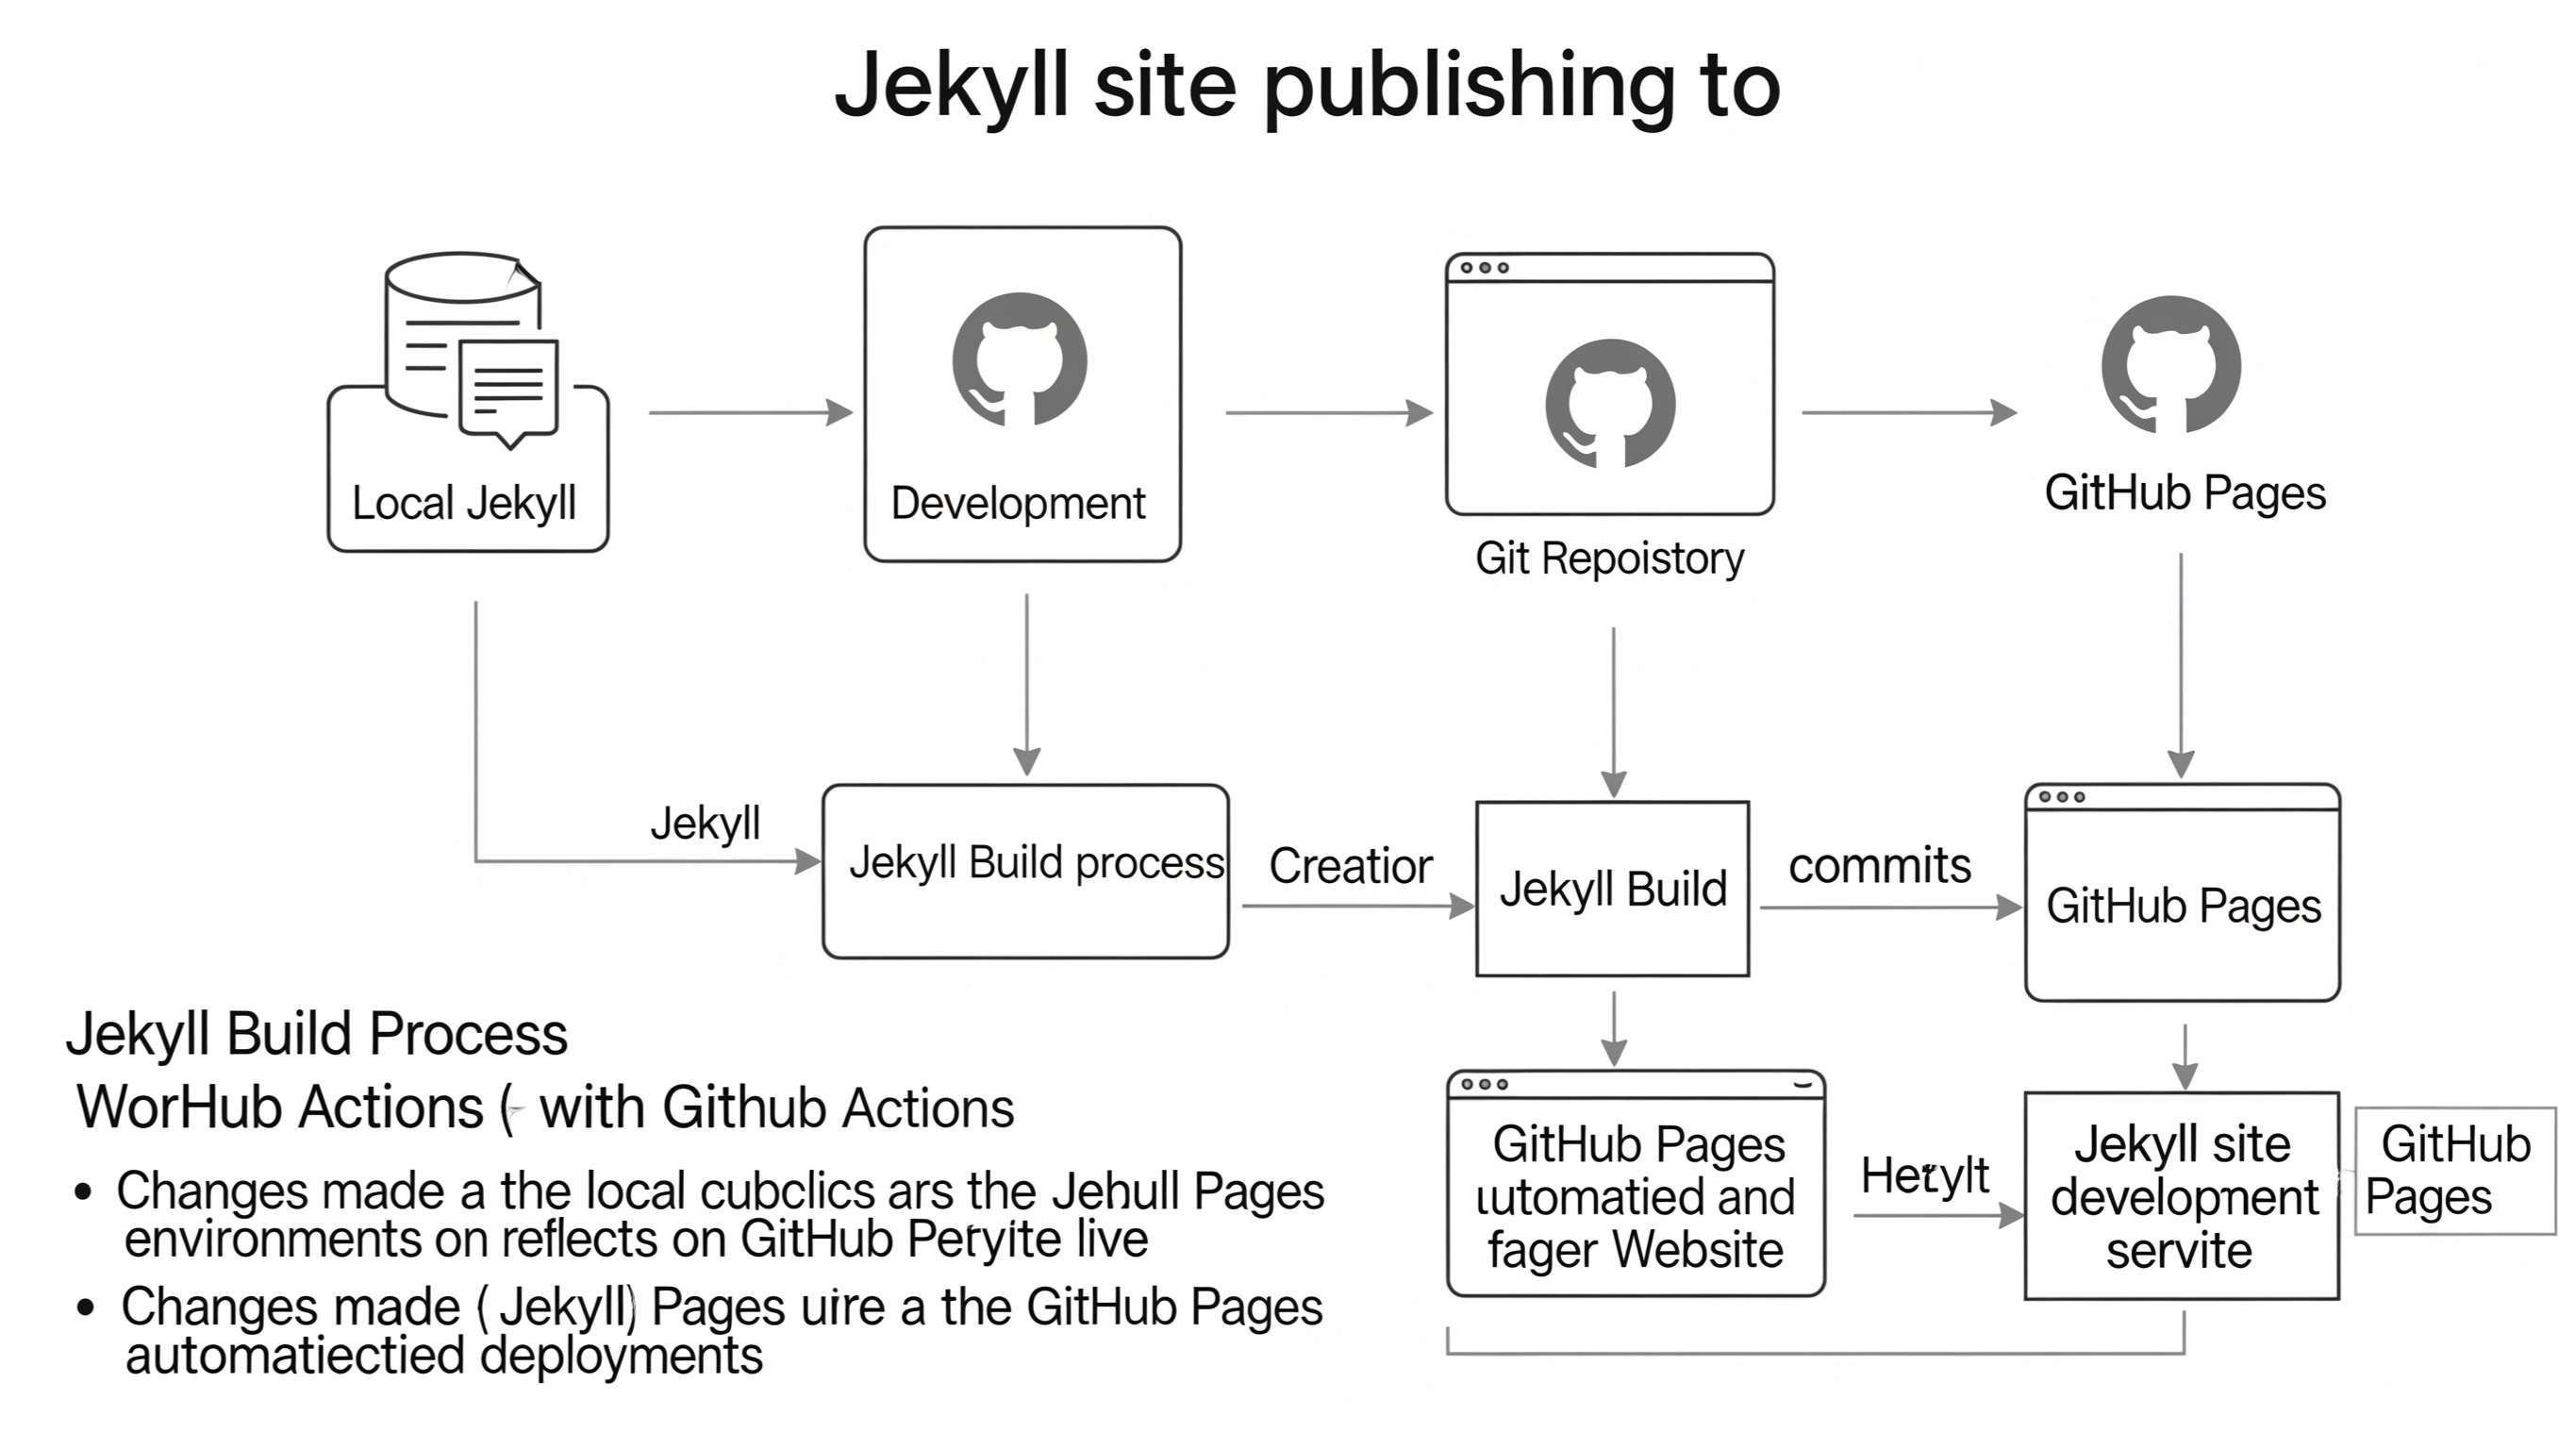
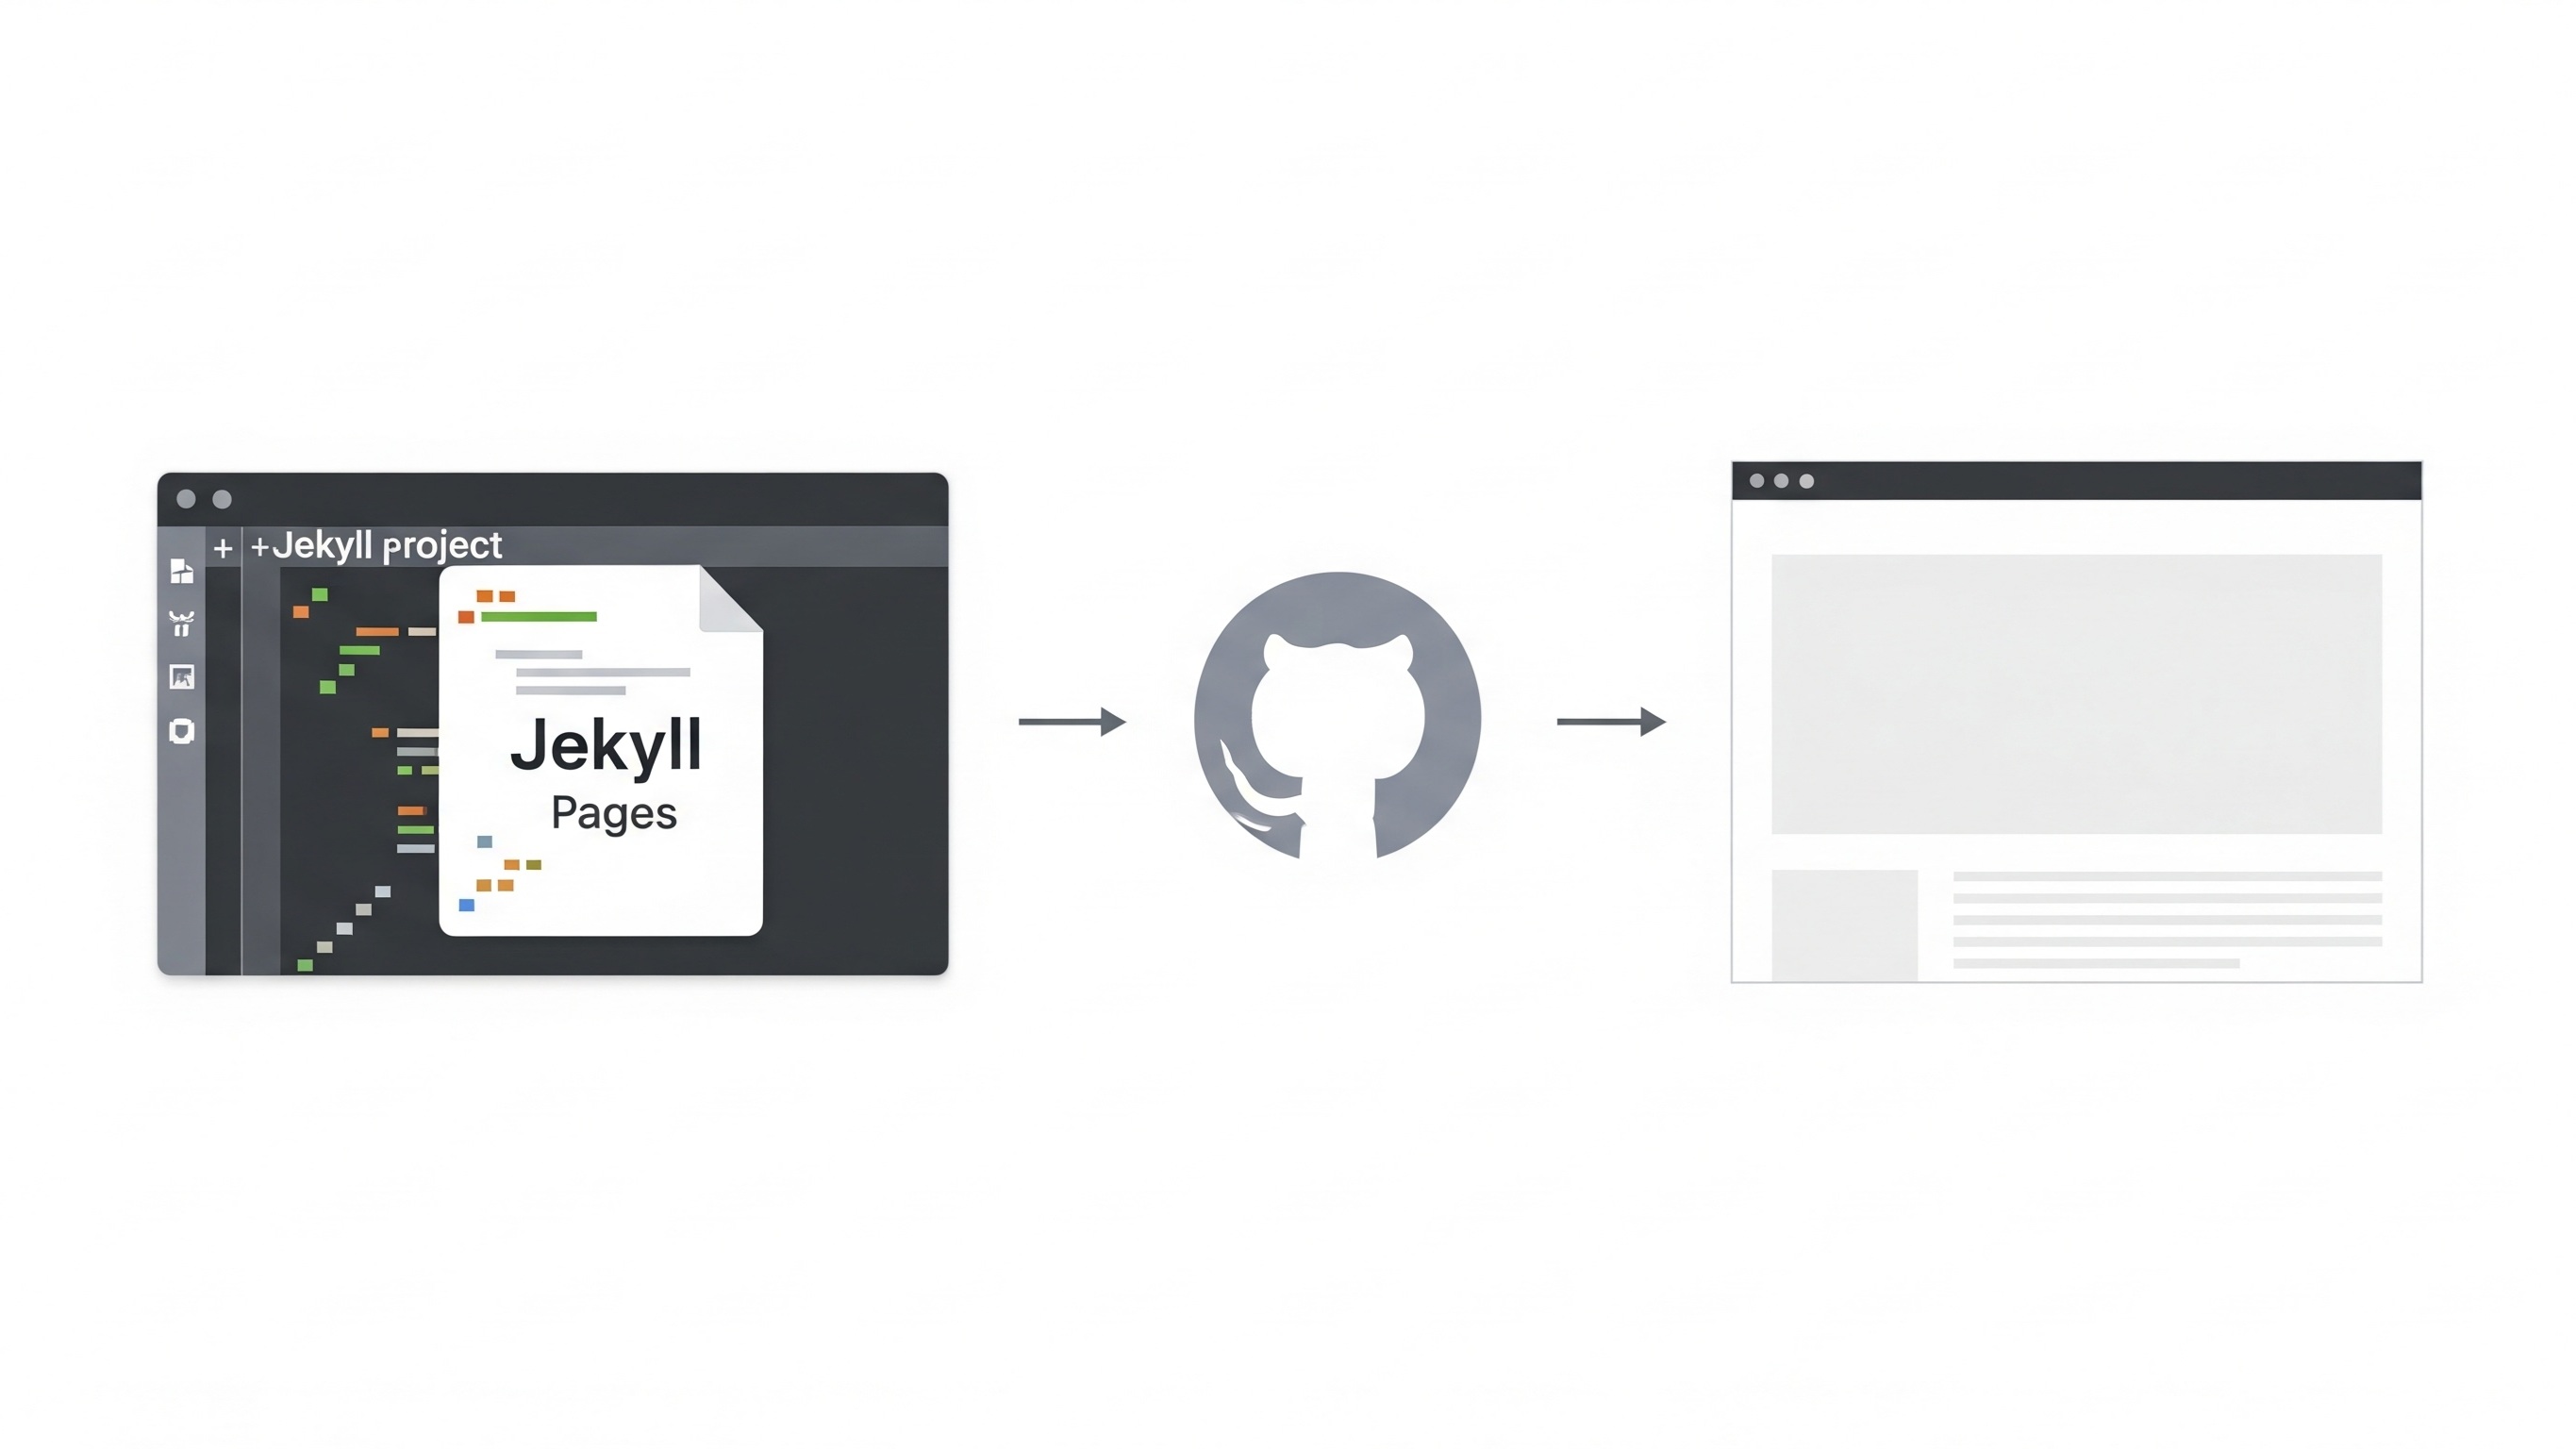
How to Push Your Jekyll Site to GitHub Pages
Once your site works locally, the next step is to publish it live via GitHub Pages.
Create a New GitHub Repository
Go to your GitHub account and create a repository named username.github.io. Clone it to your local machine:
git clone https://github.com/your-username/your-username.github.io
cd your-username.github.io
Copy Jekyll Files Into Repository
Move all files from your local Jekyll site into this folder. Then push:
git add .
git commit -m "Initial Jekyll site"
git push origin main
Enable GitHub Pages
In the repo settings, scroll to the “Pages” section and choose the branch to deploy. Select main and root or /docs folder depending on setup.
How to Customize Your Jekyll Site Layout and Content
Jekyll is flexible. You can modify themes, add plugins, or create layouts from scratch. Use _layouts/default.html to define your base structure and reuse it across pages.
Changing Your Theme
Edit your _config.yml file and specify a theme:
theme: minimaThen run:
bundle installAdding Navigation Menus
Add a custom navigation bar using _includes/header.html and call it from your layout using:
{% raw %}{% include header.html %}{% endraw %}How to Write and Publish New Blog Posts in Jekyll
Jekyll posts are just Markdown files saved in the _posts directory. File names must follow the format: YYYY-MM-DD-title.md
Sample Post Template
---
layout: post
title: "Welcome to My Blog"
date: 2025-07-29
categories: [jekyll, github-pages]
---

This is my first post on a Jekyll site hosted on GitHub Pages!
How to Troubleshoot Common Issues When Building Jekyll Sites
If you encounter build failures or missing styles, here are some tips:
- Run
bundle exec jekyll doctorto check for errors - Double-check front matter formatting
- Ensure GitHub Pages-compatible plugins only
- Make sure paths are relative (avoid leading slashes)
Can You Add SEO and Analytics to Your Jekyll Site
Yes! SEO optimization and tracking tools are easy to integrate.
Basic SEO Tips
- Use proper
metatags in your layout - Add meaningful descriptions and titles
- Structure content using
<h2>and<p>correctly
Adding Google Analytics
Include this in your _includes/head.html:
<script async src="https://www.googletagmanager.com/gtag/js?id=UA-XXXXXXX-X"></script>
<script>
window.dataLayer = window.dataLayer || [];
function gtag(){dataLayer.push(arguments);}
gtag('js', new Date());
gtag('config', 'UA-XXXXXXX-X');
</script>
What Are the Next Steps After Publishing Your First Site
Once your site is live, here’s how to continue improving and maintaining it:
Checklist for Long-Term Success
- Write regularly to keep your content fresh
- Back up your repository
- Monitor site speed and performance
- Optimize images and use compressed formats
- Build backlinks and share your site on relevant platforms
Final Thoughts on Starting Your Jekyll Journey
Building a Jekyll site from scratch on GitHub Pages is a rewarding process. With no backend to manage and hosting that’s free and reliable, it’s a practical entry point for personal or professional sites. Whether you're showcasing projects, publishing articles, or documenting open-source libraries, this setup is scalable, maintainable, and evergreen.
Now that you've created your first Jekyll site, you can continue expanding it with multilingual support, client-side search, or even turn it into a knowledge base or documentation hub. The possibilities are endless when you control the source and understand how everything works under the hood.